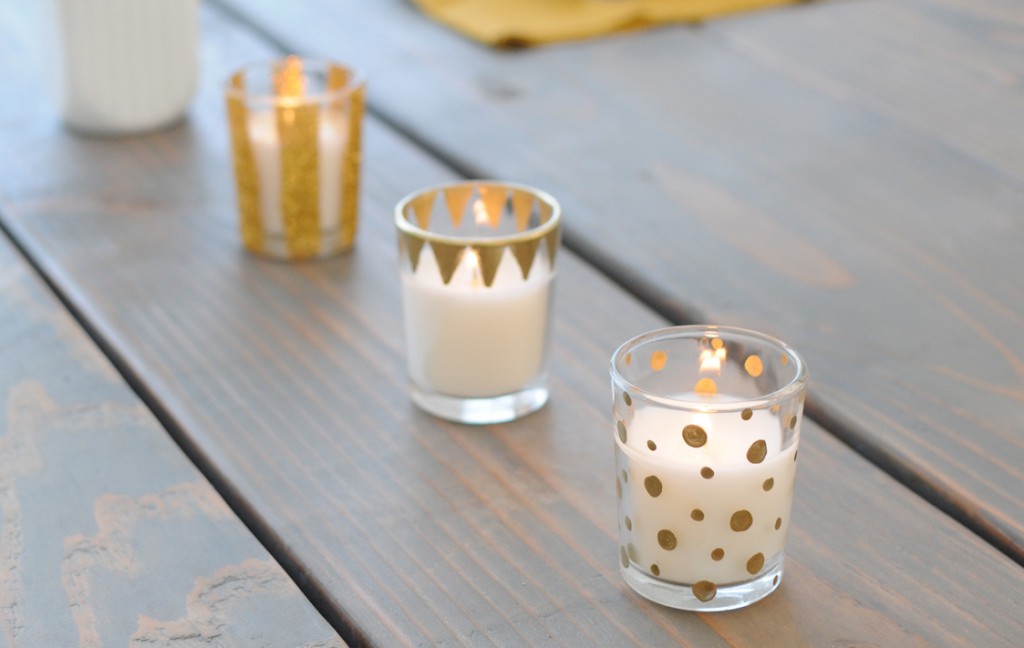
Candle making is a highly creative as well as useful hobby. In a few simple steps, you can create the most attractive and striking centerpieces for your dining table or a nice display for an empty shelf. The ingredients required are easily accessible. Here is a complete list of what’s required.
- Double boiler. This can be of the commercial variety or simply one vessel within another
- Moulds
- Pot-holders or pliers – depending on whether you are using a pot or a can
- Mould release, could be just your regular cooking oil
- A cooking thermometer
- Scissors for cutting the wicks
- Wooden spoon – for stirring wax
- Knitting needles for poking relief holes in moulded candles
- Dye – this could be pieces of wax crayons
- A baking pan to level the base of the candle
- And of course, wax.
Candles can be used as an alternate light source when you want to create a romantic and cozy atmosphere. Beautiful and serviceable candles can be made in the following elementary steps.
- Put enough wax in your melting pot to fill your mould. If you don’t have a scale to use, dividing the slab into even sections may make a good estimate. Add stearine at the rate of 2-3 tablespoons per pound of wax. Start heating in a double boiler.
- While your wax is heating, apply your mold release, then wick the mold. Prepare a water bath by submerging the empty mold in water and adding water until the level is about one half inch below the mold top. Take care not to get any water in your mold or wax – it will ruin your candle.
- When wax reaches the pouring temperature, shut the heat and add dye. Stir until well dissolved. If desired, add scent and stir well immediately before pouring.
- A word of caution, excessive dye may cause the candle to burn poorly.
- Mold ideas: empty egg shells. small glasses, any pretty small containers with a wide mouth.
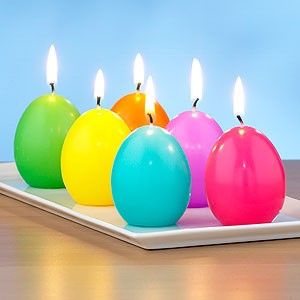
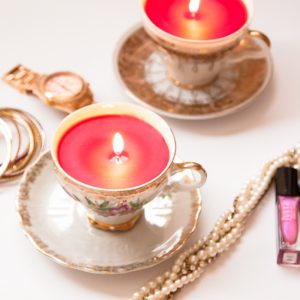
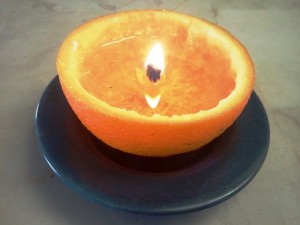
- Making candles: Pour the wax into the mold slowly but smoothly. On taller moulds, it sometimes helps to tilt the mold to prevent air bubbles. Always wear heavy work gloves when handling molds. Wetting the gloves will give even more protection if needed. Gently tap the sides of the mold, and allow 45 seconds for the air bubbles to rise. Place the mold in the water bath.
- Periodically, punch one or more holes alongside the wick using a long narrow implement. As the wax cools, it shrinks, and punching holes prevents it from shrinking away from the wick causing air pockets. The larger the candle, the more times you will need to repeat this.
- Allow the candle to cure fully before attempting to remove from the mould. The larger the candle the longer it takes. If the candle does not easily slide out of the mould, place it in a refrigerator for 5 to 10 minutes. If you still have difficulty removing it, place in the freezer for no more than 5 minutes.
- If refrigeration was used to unmould the candle, allow it to return to room temperature before proceeding. The final step is to level the base. Place your baking pan atop a pot of boiling water. Holding the candle by the wick, allow it to touch the pan until the base


