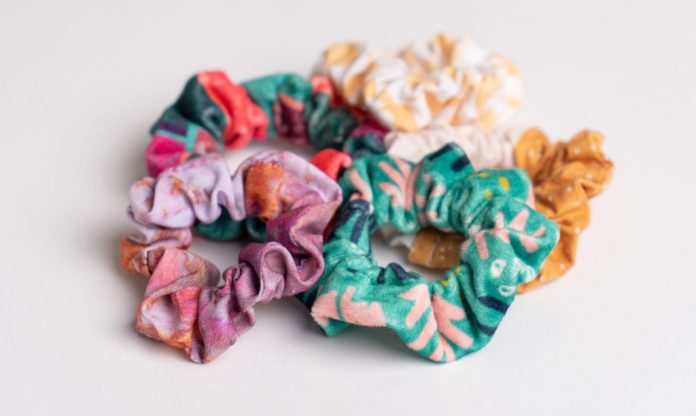
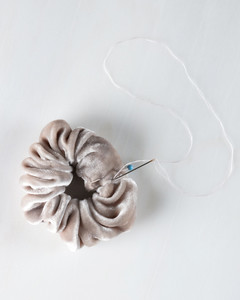
Scrunchies, which were trending during the 80s and 90s, have made a comeback in the fashion world and graced fashion shows as of late. Like with all fashion, scrunchies are back in style. Luckily, this fashion item is also quite easy to make even for beginners!
What you need to make a hair scrunchie:
- Fabric
- Elastic
- Safety Pins
- Thread
- Sewing Needle (optional)
- Sewing Machine (optional)
Choose the Fabrics
The great thing about making scrunchies is that you can choose the material yourself and that you don’t need a lot of fabric. Therefore, you can customize it according to your preference and needs. You can use almost any fabric to make this accessory, but the most popular options are cotton, Lycra, and crushed velvet. The latter is quite tricky to sew, but poses no problem after several rounds of practice.
Cut The Fabrics
Depending on your preferred size, you can make one that is small and another large to put on your wrist or wrap around your hair. For a small-sized scrunchie, cut a piece of fabric to 2.5 x 20 inches (6.5cm x 51cm) – for a larger-sized one, cut the cloth to 3.5 x 22 inches (9cm x 56cm). You can test these scrunchies by wrapping it around your hair.
Sew or Glue Around the Hair Tie
- Cut the fabric to the size that you desire it to be.
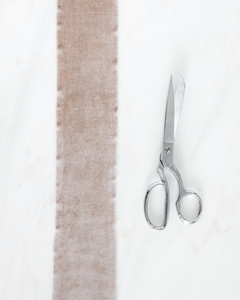
2. Fold fabric lengthwise so it’s inside out. Use pins along the center.
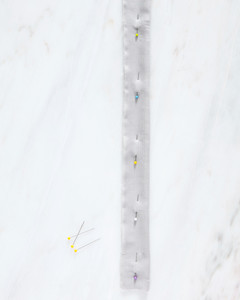
3. Sew a straight line across the edge and remove pins once you’re done.
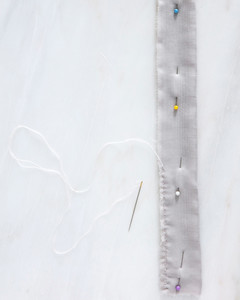
4. Attach safety pin at one end and push the pin through the inside of the tube. Pull it out in the opposite end to turn the fabric inside out, showing the outsides of the material.
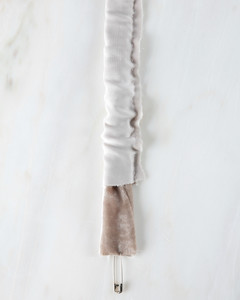
5. Cut nine inches of elastic and attach pin to one end.
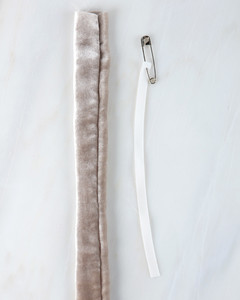
6. Pull the elastic through the tube.
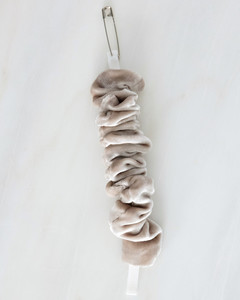
7. Remove the pin and tie the elastic into a knot.
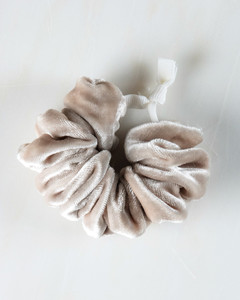
8. Fold the edges to create an even seam, then tuck one opening over the other. Finally, pin to hold the fabric in place and sew straight across to join the two sides.
Have you made your own scrunchie? Share your experience in the comment section below!

